FTP Manager
The integrated FTP Manager is a simple tool designed to streamline your web management tasks, eliminating the need for external utilities. It offers a straightforward solution for examining your server's contents through FTP, as well as efficiently uploading and downloading files and directories. Additionally, it provides options for renaming and deleting files, as well as creating new folders.
Within the FTP Manager interface, you'll find two panels: the left panel displays your local files, while the right panel showcases your remote files. This intuitive layout ensures easy navigation and efficient file management. You can drag & drop files and folders between the two panels.
Within the FTP Manager interface, you'll find two panels: the left panel displays your local files, while the right panel showcases your remote files. This intuitive layout ensures easy navigation and efficient file management. You can drag & drop files and folders between the two panels.

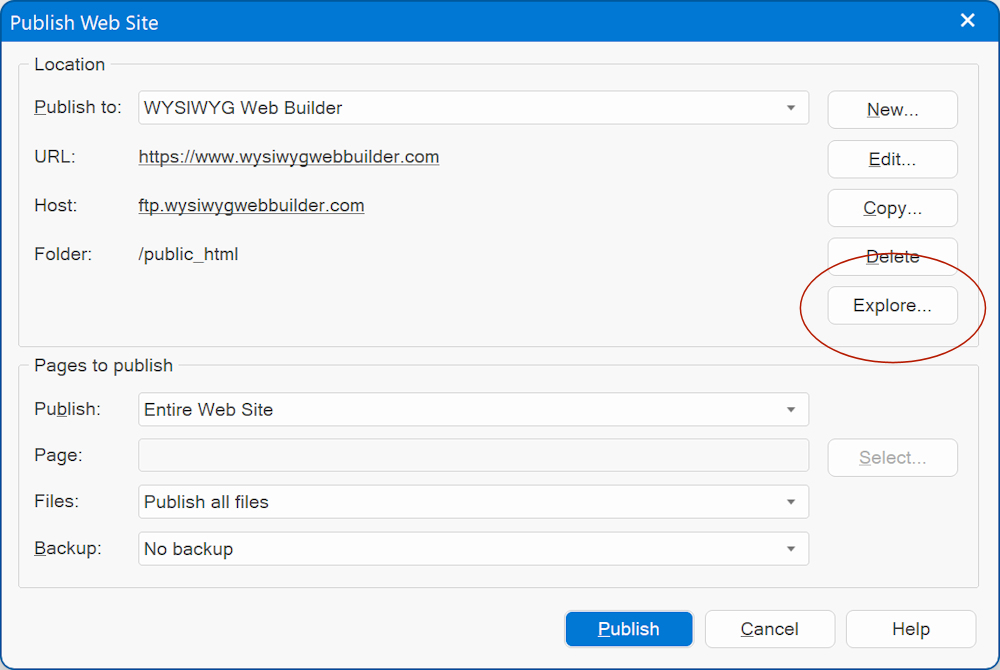
The FTP Manager can be accessed via the 'Explore' button in the Publish settings.
Permissions
The 'Permissions' option serves the purpose of configuring and managing the file and directory permissions on the remote server.
File and directory permissions determine who can access, modify, and execute files or directories on the server.
You can change the permissions for files and directories. This includes setting read, write, and execute permissions for the owner, group, and others. You can also change the owner and group of files and directories.
Make Home
The 'Make Home' option can be used for establishing the root folder for your website, where your HTML files should be published.
To set this up, follow these steps:
Navigate to the folder containing your 'index.html' file. Once you're in the correct directory, simply click the 'Make Home' button.
By selecting 'Make Home,' you instruct WYSIWYG Web Builder to recognize this chosen folder as the root directory for all your website files.
Delete a folder and all its content
Normally, it is not possible to delete a remote folder when it's not empty. But if you hold the SHIFT key while clicking the 'Delete' button then the FTP manager will recursively remove all files in the folder first.
Note:
The primary objective of this tool is to offer a fast and user-friendly means of accessing online content and performing rapid file operations such as uploading, downloading, and renaming.
However, it's essential to note that this tool is not intended to replace dedicated FTP utilities like FileZilla, which provide a significantly broader spectrum of features and capabilities.