Working with Projects (.wbs)

In WYSIWYG Web Builder, you don’t edit HTML pages directly. Instead, all the pages of your website are stored in a single project file (.wbs). Whenever you want to make changes to your website, you simply open this project file and after making the changes publish the page.
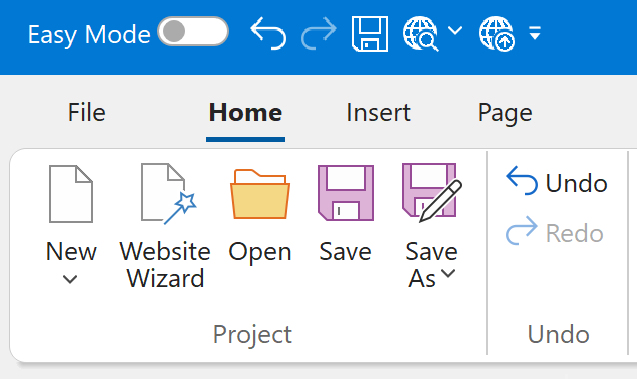
There is a dedicated section with project related commands in Ribbon to Create, Open and Save projects.
There is a dedicated section with project related commands in Ribbon to Create, Open and Save projects.
Images and videos
The project file itself does not contain images, videos, or other media assets, as this would make the file very large. By default, any images you add to your web pages are automatically copied to a project folder, which is created in the same location as the project file. This folder has the same name as the project. For example, if your project is named mywebsite, the project folder will also be named mywebsite.
This way, the project file and all associated assets are stored in one location, making it easy to back up your work or transfer the entire project to another computer.
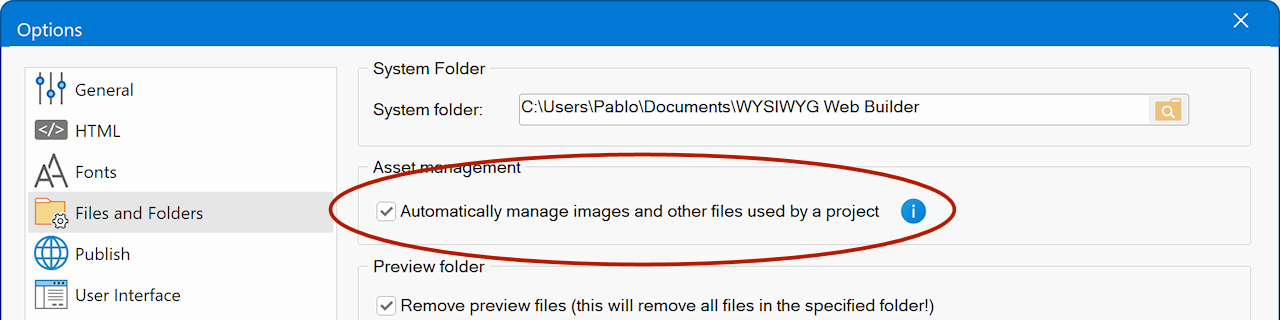
If you prefer to keep images, videos, and other assets in their original locations, you can disable the option “Automatically manage images and other files used by a project.” in Tools -> Options -> Files and Folders
This way, the project file and all associated assets are stored in one location, making it easy to back up your work or transfer the entire project to another computer.
If you prefer to keep images, videos, and other assets in their original locations, you can disable the option “Automatically manage images and other files used by a project.” in Tools -> Options -> Files and Folders
Saving a web site as HTML (Publish)
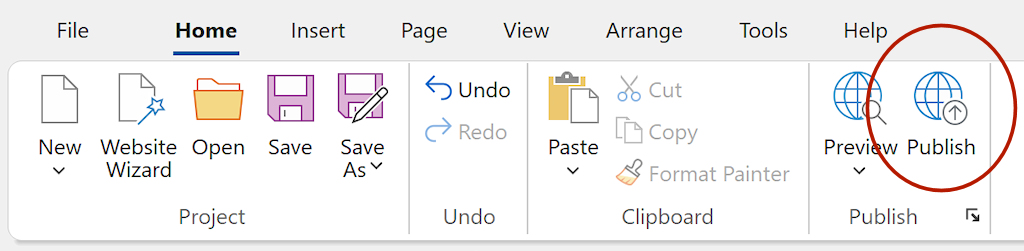
To save your page as HTML you'll need to Publish your pages.
Please see this related topic for more information:
Publishing your web pages
Please see this related topic for more information:
Publishing your web pages
Backing up projects
WYSIWYG Web Builder has several built-in backup features to make it easier to go back to a previously version of the website or restore your project in case a file becomes corrupt or your hard disk crashes.
Note that the backup functionality does not backup images or other assets because that would have huge impact on the performance while you are working! It only stores a backup copy of the project file.
So, it also important that you backup the entire documents folder, just in case your harddisk crashes.
Standard backup
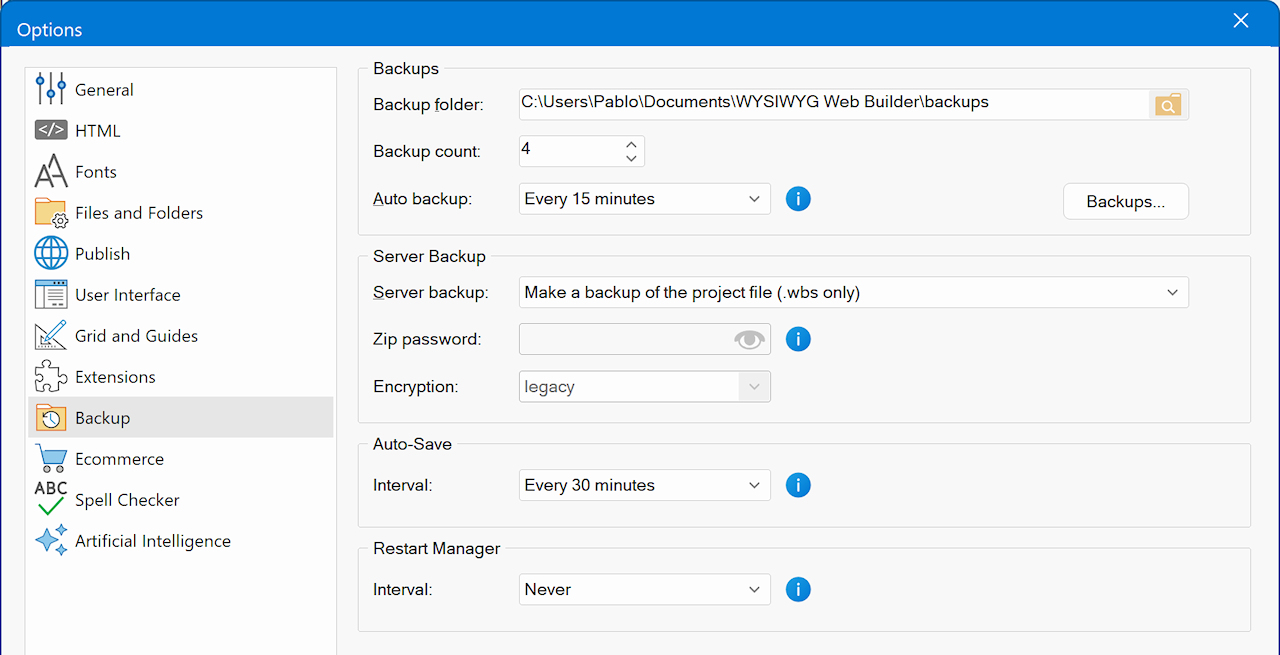
You can enable this option in Tools -> Options -> Backup.
If the Backup count is higher than 0 then the software will make a backup copy of the previous version of the project each time your save your work. The backup will be stored in the specified backup folder.
If you make lots of changes then it's probably a good idea to set a high 'Backup count' (16 or more) so you can easily go back to a previous version.
Note that the backup functionality does not backup images or other assets because that would have huge impact on the performance while you are working! It only stores a backup copy of the project file.
So, it also important that you backup the entire documents folder, just in case your harddisk crashes.
Standard backup
You can enable this option in Tools -> Options -> Backup.
If the Backup count is higher than 0 then the software will make a backup copy of the previous version of the project each time your save your work. The backup will be stored in the specified backup folder.
If you make lots of changes then it's probably a good idea to set a high 'Backup count' (16 or more) so you can easily go back to a previous version.
Auto backup
Enable this option to automatically make backup copy of your project every 5, 15, or 30 minutes. This may help you restore your work if your computer crashes unexpectedly.
The name of the backup will be myproject_autobackup.wbs and it will also be stored in the backup folder.
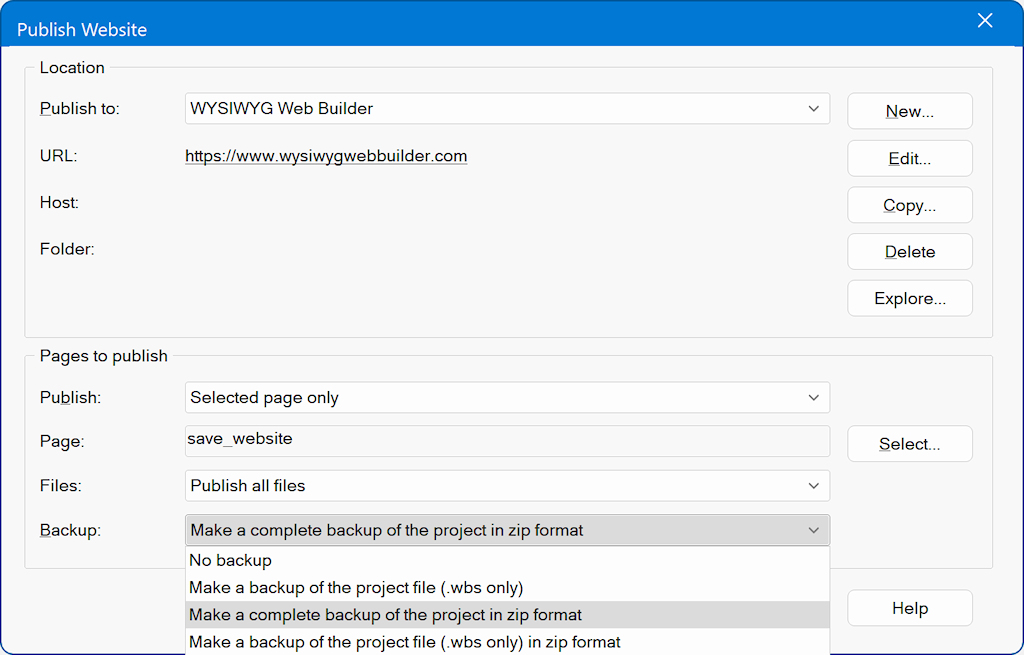
Make a backup of the project on the server.
Enable this option to automatically make a backup of the project on the server. This may be useful if your computer crashes or your local projects become corrupted. In that case you will always have a backup copy on the server. The project will be copied to the root of your website. You will need a FTP utility (like the built-in FTP client) to download the project (.wbs) file back from the server.
Keep in mind however that projects can become pretty large, so this option may also add a considerable amount of time to publishing your website.
Also note that this will not backup the local project folder (which contains the images of the image) because these are already on the server, usually in the 'images' folder.
Enable this option to automatically make backup copy of your project every 5, 15, or 30 minutes. This may help you restore your work if your computer crashes unexpectedly.
The name of the backup will be myproject_autobackup.wbs and it will also be stored in the backup folder.
Make a backup of the project on the server.
Enable this option to automatically make a backup of the project on the server. This may be useful if your computer crashes or your local projects become corrupted. In that case you will always have a backup copy on the server. The project will be copied to the root of your website. You will need a FTP utility (like the built-in FTP client) to download the project (.wbs) file back from the server.
Keep in mind however that projects can become pretty large, so this option may also add a considerable amount of time to publishing your website.
Also note that this will not backup the local project folder (which contains the images of the image) because these are already on the server, usually in the 'images' folder.
Restoring a backup.
Copy the project back to the documents folder and restore its original name. For example:
Backup name: C:\Users\YourName\Documents\WYSIWYG Web Builder\backups\myproject_01.wbs
Original name: C:\Users\YourName\Documents\WYSIWYG Web Builder\myproject.wbs
Note that in all cases only the project file will be back-upped, not the images or other assets. So in case of a hard disk crash you will need to recreated project folder with images too.
Basically this means you manually create the folder with the same name as the project and copy all images (and other assets) from the server to this folder. But of course this is always better than having to create everything from scratch. You can also specify the location of the images via Asset manager.
Manually making a backup
By default all projects file will be saved in the folder My Documents\WYSIWYG Web Builder.
Each project uses its own sub folder (with the same name as the project) to store images and other files.
So in order to backup your work, make sure you backup this whole folder, plus all folders where you have stored the websites assets (images, movies, etc).
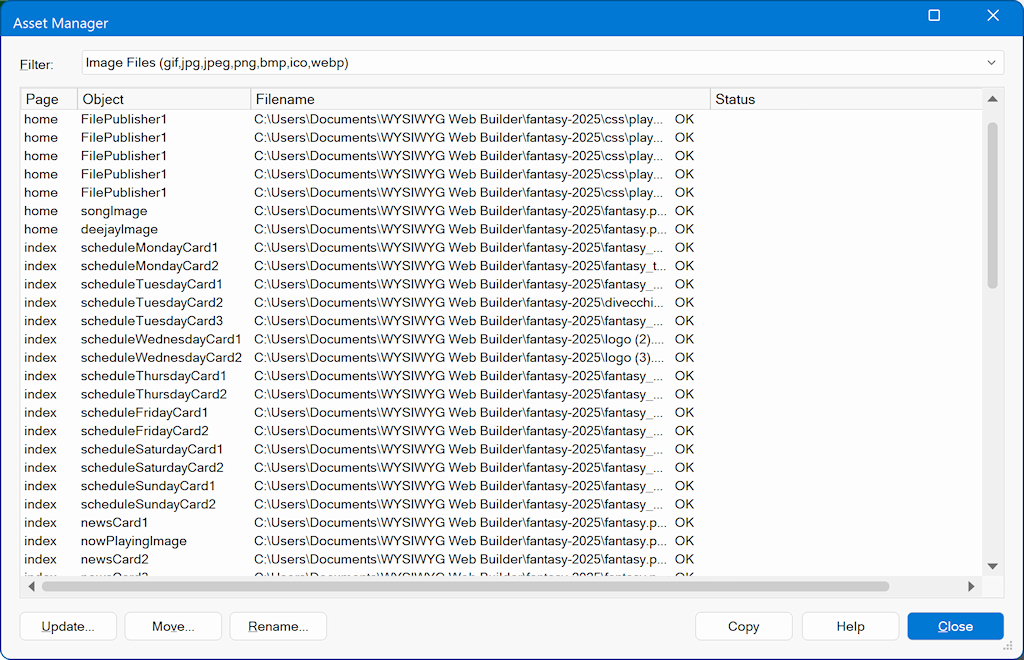
Asset Manager
If you move a project to a different location or computer, be sure to also copy the project’s images folder.
In most cases, the software will automatically update all file references to the new location.
If the software cannot find or access the folder, you can use the Asset Manager to manually update the file paths.
In most cases, the software will automatically update all file references to the new location.
If the software cannot find or access the folder, you can use the Asset Manager to manually update the file paths.

To change the location of a single file, select the item, click Update, and choose the new location.
To change the location of multiple files, select the desired items, click Update, and choose the new location.
Tip: Press Ctrl + A to quickly select all files.
To change the location of multiple files, select the desired items, click Update, and choose the new location.
Tip: Press Ctrl + A to quickly select all files.
Move
It’s also possible to move files to another location. In this case, Web Builder will copy the files to the specified location and automatically update their paths in the project. Note: The original files will not be deleted.
Rename
This option allows you to rename files that are part of the project. This option not only renames the file on disk but also automatically updates all references within the project. If the file is used in multiple objects or pages, all instances will be updated accordingly.