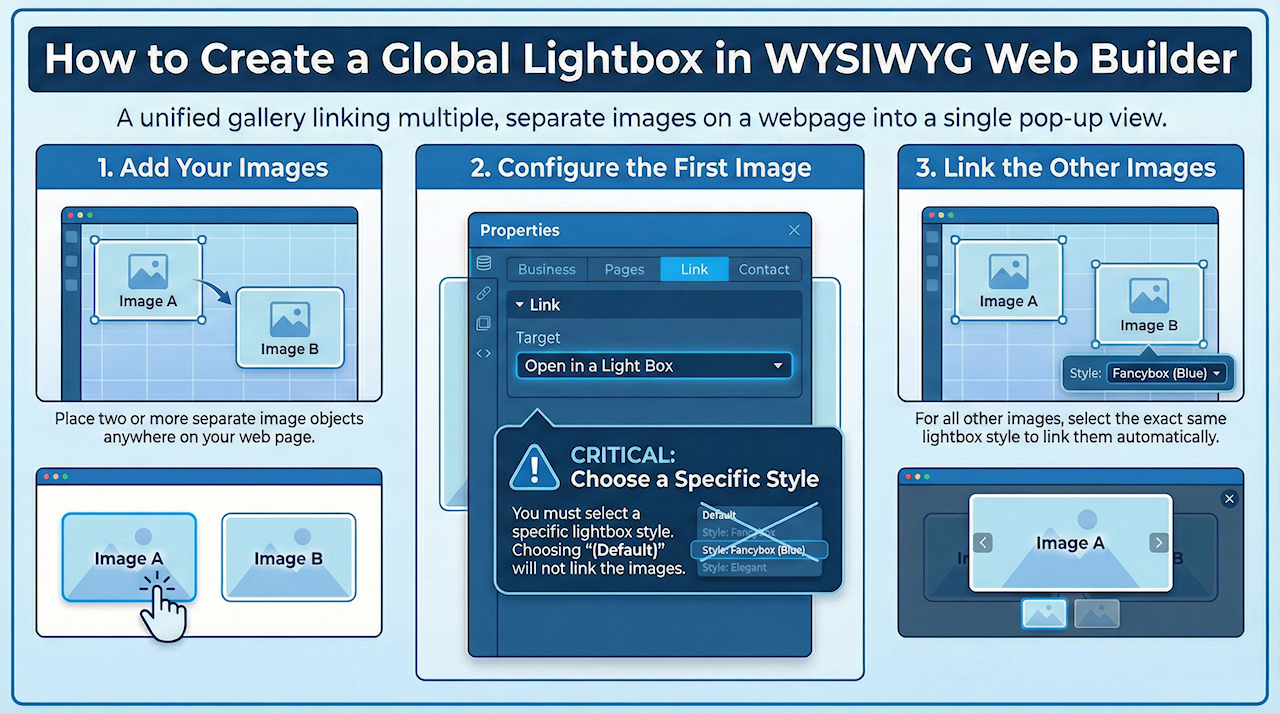
Implementing a global lightbox gallery
Normally when you want to add a lightbox to your website you will use the Photo Gallery or SlideShow.
However sometimes you may want to have separate images on different parts of the page to trigger the same lightbox gallery.
This tutorial demonstrates how to do that using the standard Image object.
Step 1
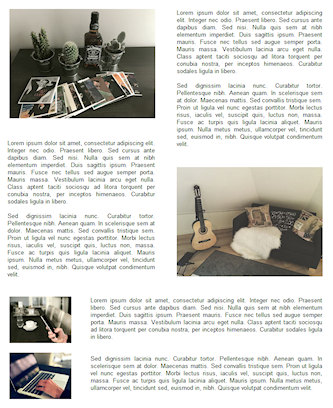
Add 2 (or more) images to the page. You can place them anywhere you want.
However sometimes you may want to have separate images on different parts of the page to trigger the same lightbox gallery.
This tutorial demonstrates how to do that using the standard Image object.
Step 1
Add 2 (or more) images to the page. You can place them anywhere you want.
Step 2
Open the properties and select the Link tab.
Leave the URL field empty, it will not be used in this case because the lightbox uses the image file.
Open the properties and select the Link tab.
Leave the URL field empty, it will not be used in this case because the lightbox uses the image file.
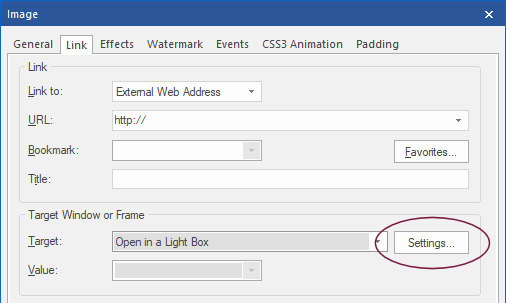
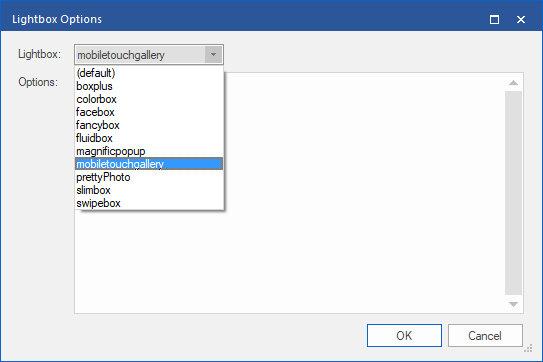
Set the target to "Open in a Light Box' then click 'Settings' and select your favorite Lightbox from the list.
If you choose (Default) then the standard link functionality will be used instead of a global lightbox!
Note that you can download addtional (third party) lightbox add-ons here: https://www.wysiwygwebbuilder.com/free_extras.html
Optionally it is possible to set custom options for the lightbox. These options are different for each lightbox. Consult the original documentation of the lightbox scripts for more information.
Step 3
Select the same lightbox for the other image(s) . This will automatically link them together!
Now preview or publish the page to see the lightbox in action.
Select the same lightbox for the other image(s) . This will automatically link them together!
Now preview or publish the page to see the lightbox in action.