Adding a Menu Bar to your web site
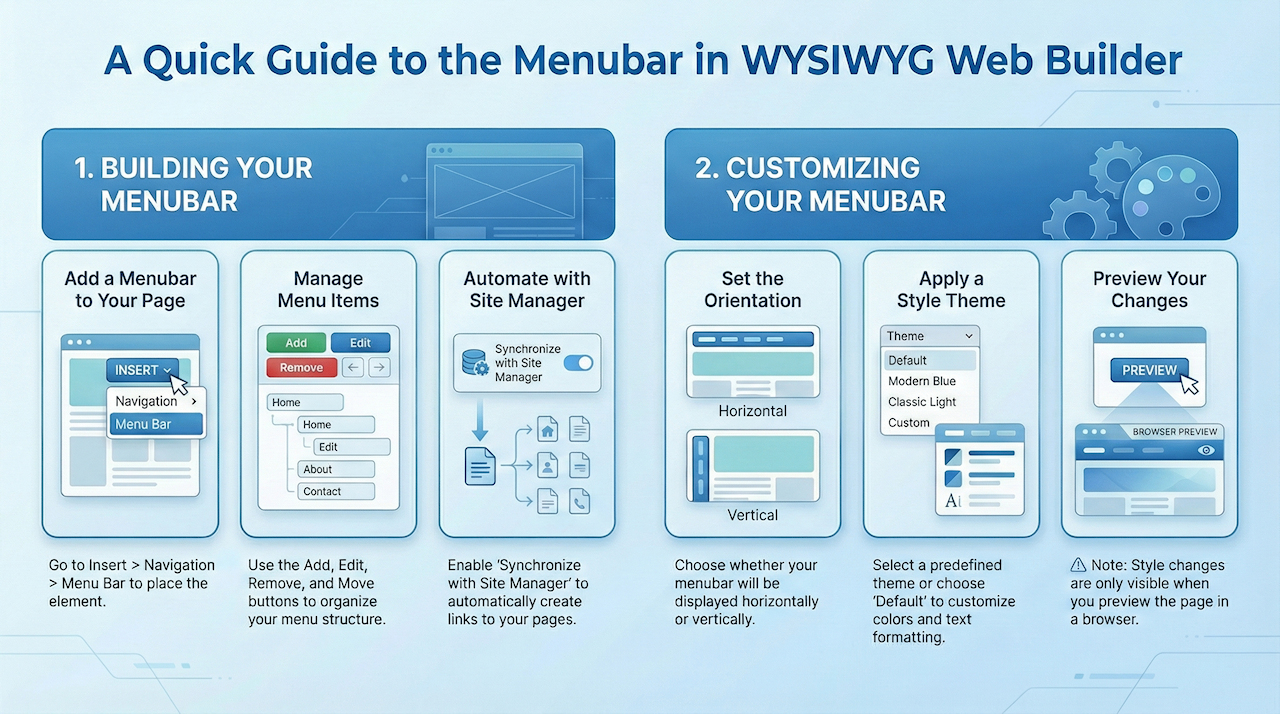
One of the exciting features of WYSIWYG Web Builder is the ability to add advanced navigation elements to your web page with only a few mouse clicks. The Menu Bar is one of those elements. To insert a Menu Bar select Insert->Navigation->Menu Bar.
The menubar is a very powerful JavaScript-based menu script that can mimic complex menus found in popular GUI applications. Web Builder provides a menubuilder so you can easily add menu items, assign the links and set the style for the menu using the style tab.
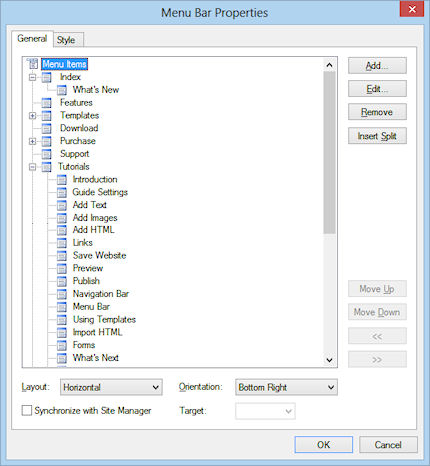
Select Add to insert a new item to the menubar or Edit to modify the properties of an existing item.
To remove an item from the menubar select Remove.
You can rearrange the items in the menu you can use drag and drop to move the items around or by using the Move Up, Move Down, Move Left (<<) or Move Right (>>) buttons.
The Insert Split button inserts a splitter/divider in the menu. The menubar can be either Vertical or Horizontal.
When you enable the option Synchronize with Site Manager, Web Builder automatically synchronizes the Buttons with the content of the Site Manager, so you do not have to add all your internal links manually.
Menubar Style
To change the appearance of the menubar either select a predefined theme of select Default to edit the menubar colors and text formating.
Note the effect of the selected theme will only be visible in the browser. So you'll have to preview or publish the page first.
Other menubar samples: